There's nothing quite as frustrating as a door that slams shut with the force of a hurricane or one that refuses to close properly, leaving your carefully controlled indoor temperature escaping into the great outdoors. If your door closer has started behaving badly whether it's slamming doors, failing to close completely, or making concerning grinding noises you don't need to call in a professional straight away. With the right guidance and a bit of patience, you can replace a faulty door closer yourself.
Door closers are hardworking mechanical devices that regulate the speed and action of a door's swing, assisting with the automatic closing process. Like any mechanical component, they eventually wear out from constant use, weather exposure, and the simple passage of time. The good news is that replacing your wooden door closer is simpler than you might think, and we'll walk you through every step of the process.
Recognising When Your Door Closer Needs Replacing
Before you begin any replacement work, it's important to confirm that your door closer actually needs replacing rather than just adjustment. Sometimes what appears to be a faulty door closer can be fixed with simple maintenance or adjustment of the tension screws.
However, certain signs indicate that replacement is your best option. If your hydraulic door closer is leaking hydraulic fluid, has visible cracks in the housing, or fails to respond to adjustment attempts, it's time for a new one. Similarly, if the door slams shut regardless of adjustment settings or fails to close completely even when the automatic door closer appears to be functioning, replacement is likely necessary.
We manufacture three main types of door closers, each designed for specific applications and aesthetic preferences. Understanding which type you currently have will help ensure you select the appropriate replacement and understand the installation process ahead.
Gathering Your Tools and Materials
Before starting your replacement project, make sure you have all the necessary tools and materials readily available. Having everything prepared will make the job much smoother and prevent frustrating interruptions.
You'll need:
- A Drill with appropriate bits
- Screwdrivers (Both Flathead and Phillips)
- A Spirit Level
- Measuring Tape
- A Pencil for marking
- Safety Glasses
Additionally, have some wood filler or touch-up paint on hand for any cosmetic repairs that might be needed after installation.
When selecting your replacement door closer, consider both the door's weight and the level of usage it experiences. Our range includes options suitable for lightweight interior doors through to heavy-duty commercial applications. The packaging will specify the appropriate door weight range and usage recommendations.
Removing the Old Door Closer
- For scissor arm door closers
Preparing for the New Installation
With the old door closer removed, you'll likely find screw holes and possibly some aesthetic damage to the door where the previous unit was mounted. This is normal and presents an opportunity to make sure your new installation is both secure and visually appealing.
Clean the mounting area thoroughly, removing any debris, old sealant, or paint flakes that might interfere with proper installation. If you're installing the same type of closer in the same location, you may be able to reuse existing screw holes. However, if the holes are worn or damaged, it's better to fill them and create new mounting points.
For installations where you're changing closer types, perhaps upgrading from a basic wooden door closer to a concealed door closer, you'll need to ensure the door and frame can accommodate the new hardware. Our concealed door closers require specific preparation of the door's top edge and frame, so measure carefully and follow the installation template provided.
Check that your door and frame are properly aligned before installation. A door that's sagging or a frame that's out of square will prevent even the best door closer from functioning properly. Address any alignment issues before proceeding with the installation.
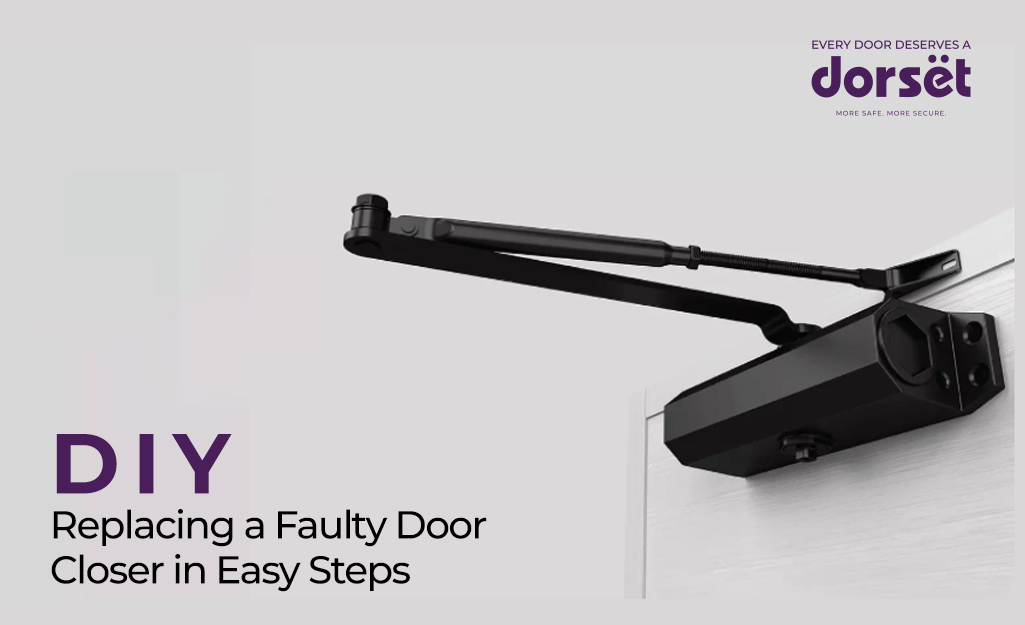
Installing Your New Dorset Door Closer
Begin installation by positioning the new closer according to the provided template. Most of our door closers come with detailed templates that take the guesswork out of positioning. Tape the template securely in place and use it to mark all screw holes and any required modifications.
- For scissor arm door closers, start by mounting the main body to the door frame, ensuring it's perfectly level and securely fastened. The arm mechanism should move freely without binding against the door or frame. Adjust the positioning if necessary before final tightening.
- Palmet arm door closers offer excellent control and are particularly suitable for doors that experience heavy use. The installation process involves mounting the closer body to the top of the door with the arm extending to connect with the frame. Pay careful attention to the arm's adjustment range during installation to ensure smooth operation.
- Our concealed door closers provide the cleanest aesthetic solution, as the mechanism is hidden within the door and frame structure. These require more precise installation, including mortising the door's top edge to accommodate the closer body. Take your time with measurements and cutting to ensure a perfect fit.
Fine-Tuning and Adjustment
Once your new door closer is installed, the job isn't quite finished. Proper adjustment is crucial for optimal performance and longevity. Most door closers have multiple adjustment points that control closing speed, latching speed, and back-check pressure.
Start with the recommended baseline settings, then make small adjustments based on your door's behaviour. The closing speed should be fast enough to ensure the door closes reliably but slow enough to prevent slamming. The final latching action should provide just enough force to engage the latch without excessive noise.
Test the door thoroughly from various opening angles. A properly adjusted closer should control the door smoothly from full open to closed, with consistent behaviour regardless of how forcefully the door is opened initially. If the door fails to close from certain angles or closes too aggressively, further adjustment is needed.
Pay attention to seasonal changes as well. Temperature fluctuations can affect the fluid in your hydraulic door closer, potentially requiring minor adjustments throughout the year. This is particularly important for exterior doors that experience significant temperature variations.
When to Call in Professional Help
Whilst door closer replacement is generally within the capabilities of most DIY enthusiasts, certain situations warrant professional assistance. If your installation requires significant modification to the door or frame, involves fire-rated doors with specific compliance requirements, or if you're simply not comfortable with the installation process, professional installation ensures proper function and maintains any warranties.
The Satisfaction of a Job Well Done
A properly functioning door closer improves your daily life in ways you might not immediately notice but will certainly appreciate. Doors that close reliably help maintain indoor temperatures, reduce noise transmission, and provide the security that comes with knowing your doors will latch properly every time.
Also see-
How To Install an automatic Door Closer
Tips for Choosing the Lock for your Bedroom Doors
How to Maximize the Kitchen Space using Pantry Unit
With your new Dorset door closer installed and properly adjusted, you can enjoy years of trouble-free operation and the peace of mind that comes with quality hardware properly installed.