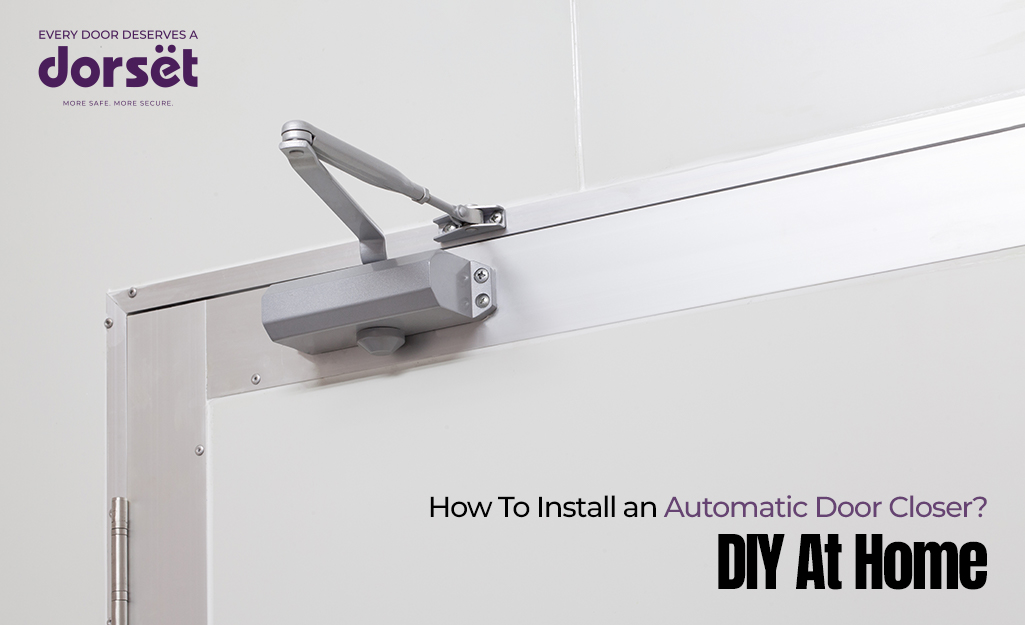
Installing an automatic door closer might seem like a job for professionals, but with the right tools and a bit of patience, it's actually a simple DIY project that most homeowners can tackle in an afternoon.
At Dorset, we've designed our door closers to be as user-friendly as possible during installation, but we still recommend taking your time and following proper procedures. A well-installed door closer will serve you reliably for years, whilst a rushed installation can lead to problems that require professional correction later.
Step 1: Plan Your Installation
Before you even touch your tools, spend time planning the installation properly. At Dorset, we offer three types of door closers, Scissor Arm Door Closer, Palmet Arm Door Closer, and Concealed Door Closer. How you install the closer will depend on the kind of closer it is. The type of door closer you choose and where you position it will depend on your door's dimensions, weight, and the available space around your door frame.
Measure your door's width and thickness, and check its weight if possible. Most residential doors fall within standard ranges, but commercial or custom doors might require specific considerations. Also check the space above your door and along the door frame to determine which mounting style will work best in your situation.
Consider the door's swing direction and how much clearance you have. Some installations work better on the pull side of the door, whilst others are more suitable for the push side. The available space will often dictate your options, but planning ahead prevents surprises during installation.
Step 2: Gather Your Tools and Materials
Having the right tools ready before you start the installation process, makes it much smoother and helps give a professional result. You'll need:
- a drill with appropriate bits
- a spirit level
- a measuring tape
- safety glasses (essential while drilling)
- step ladder for easier reach
- a pencil for marking positions
- wood screws or machine screws, depending on whether you have a door closer for wooden door or metal door
Check what's included with your door closer and what additional hardware you might need. For metal doors or frames, you may need different screws or even tap-and-die sets for threading holes.
Step 3: Positioning the Door Closer
The success of your installation largely depends on positioning the door closer correctly. Most door closers come with templates that show exactly where to drill holes and how to align components, so use these religiously rather than guessing at positions.
Start by determining whether you'll mount the door closer on the door itself or on the frame above the door. Frame mounting generally provides better leverage and performance, but door mounting might be necessary if you have limited space or have a concealed door closer for aesthetic requirements.
Hold the closer in position and mark all screw holes with a pencil before drilling anything. Double-check your measurements and use a spirit level to ensure everything is perfectly aligned. Misaligned installation is one of the most common DIY mistakes and can cause premature wear or poor performance.
Step 4: Making the Connections
Once your door closer body is securely mounted, you'll need to connect it to the door or frame (whichever you didn't mount the main unit on). This connection, often called the bracket or arm connection, is crucial for proper operation.
The connecting arm must be positioned to allow smooth door operation throughout its full range of motion. Test the door's swing manually whilst holding the connection point to ensure there's no binding or interference. The arm should move smoothly from fully open to fully closed positions without hitting obstacles or requiring excessive force.
Pay particular attention to the angle of the connection. Most door closers work best when the connecting arm is perpendicular to the door when it's in the half-open position. This provides optimal leverage and ensures consistent closing force throughout the door's swing.
Step 5: Adjusting Closing Speed and Force
After installation, you'll need to adjust your door closer to match your specific needs.
The primary adjustments typically include:
- Overall closing speed from fully open to nearly closed
- Final closing speed for the last few degrees of swing
- Latching force to ensure the door closes completely
- Back-check feature to prevent the door from opening too forcefully
Start with small adjustments and test the door's operation between each change. Make quarter-turns of the adjustment screws and allow the door to complete several full cycles before making additional changes. Over-adjustment is a common mistake that can lead to inconsistent performance.
Step 6: Testing and Fine-Tuning
Proper testing is important so your door closer operates correctly under various conditions. Test the door from different opening angles, quarter open, half open, and fully open, to check for consistent closing behaviour.
If you notice any issues during testing, address them promptly. Common problems include doors that don't close completely, doors that slam shut, or inconsistent closing speeds. Most of these issues can be resolved through adjustment, but persistent problems might indicate installation errors that need correction.
Common Installation Mistakes to Avoid
Even experienced DIYers can make mistakes that affect door closer performance. Avoid over-tightening screws, which can distort the closer body or strip threads in your door or frame. Conversely, loose mounting allows the closer to shift position over time, leading to poor performance and premature wear.
Don't ignore the weight and size recommendations for your door. Installing a door closer that's too small for your door will result in poor performance and early failure, whilst an oversized closer might be difficult to adjust properly and could damage your door over time.
Another common mistake is failing to account for door and frame expansion in different weather conditions. Leave appropriate clearances and avoid over-constraining the installation, which could bind when materials expand.
When to Call a Professional
While door closer installation is generally DIY-friendly, some situations warrant professional help. If you're working with fire doors, commercial applications, or doors with specific compliance requirements, professional installation ensures all codes and regulations are met.
Similarly, if you encounter unexpected complications during installation, such as unusual door construction, interference with other hardware, or structural issues, it's often more cost-effective to get professional help rather than risk damage to your door or frame.
Take your time, follow the instructions carefully, and don't hesitate to call for the help of Dorset’s professionals if you run into issues.